Wednesday, February 14, 2018

Colors of Nuno-felting

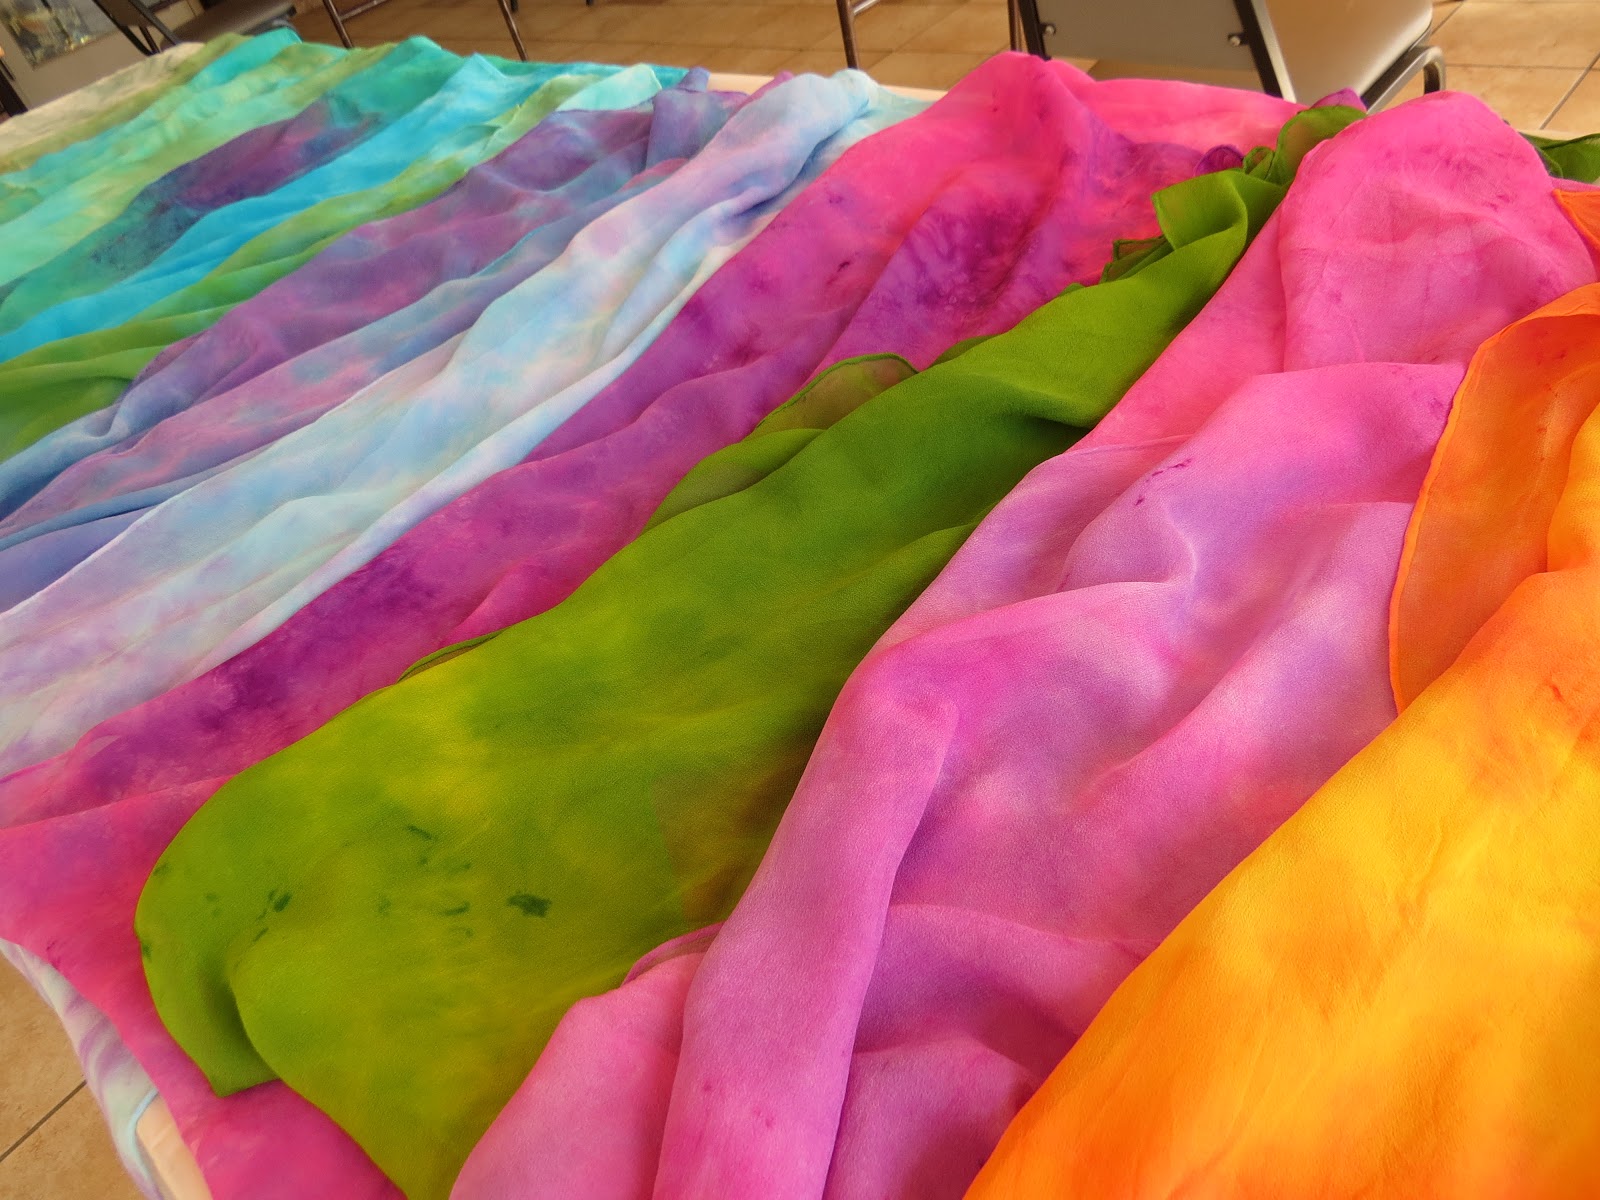
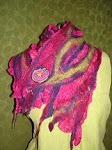
I'm so excited to be teaching my Nuno-felted Scarf class at Sawtooth this weekend and also at the Mid-Atlantic Quilt Festival in Hampton, VA next week! "Nuno" is a Japanese term for "cloth"; when we nuno-felt, we start with a hand-dyed silk chiffon scarf as a base, and then "fuse" fibers of hand-dyed wool merino, silk, bamboo, curly mohair, and Angelina to make a beautiful one-of-a-kind art scarf that students will be able to wear out of class. (OK it might be a bit wet though!) I dye all the scarves for my classes by hand, and I usually bring a solid black one or 2 just in case. I love color! And I try to bring a nice variety of hues for students to choose from.


Once students have chosen their scarf, they then hand-pick their choice of wool fibers and embellishments to add to their palette. I always bring lots of photos and samples for inspiration too.

The layouts vary from free-form abstract in analogous hues:
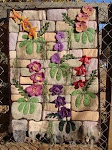
 To a vibrant explosion of flowers on a sea of blue:
Or a simple geometric grid:
Or perhaps colorful circles:
And yes, we do believe in "coloring" outside the lines! I can't wait to see what my students will come up with next!

Sunday, February 11, 2018

A Special Gift

I was so blessed to recently gain a daughter-in-law, and I wanted to do something special for my son and his new bride for Christmas to celebrate their love for each other and the sanctity of their marriage. They had generously given me lots of photos from their wedding, so I had some great pictures of the beautiful bride and groom. I also had a decorated jar from their wedding we'd used to drink out of, a special jar lid that could convert the jar into a lamp, and a small lampshade. So I decided to create a small lamp to commemorate their special day!

First, I made a pattern for the lampshade. I laid the small lampshade on an 8-1/2"  x 11" paper and traced a pattern, rolling the shade over the paper and using a pencil to lightly trace the upper and lower edges and leaving a little bit at the ends for overlap.
Then the fun part - choosing the pictures! there were so many  good ones, it was hard to decide. Finally I made my selections, and laid them out in a pleasing design that would fit on my lampshade pattern.
 I made a paper black and white copy, as I thought that would add a nice harmonious touch to the burlap and lace decor on the wedding jar. This way I could also check the fit before making my final copy, and see how it would look when the light was on. I did leave plenty of extra borders on every edge to make sure I had extra margins before printing my good fabric lampshade.

Next, I used a special fabric sheet for ink jet printers to print my finished pictures. This would make it easier to attach to the lampshade, and it would last longer. I printed out the pictures onto the fabric sheet, following the manufacturer's directions. Then I cut out the shade and glued it to the lampshade on the upper and lower edges. I let the glue dry, then added a jute rope finish to the edges for a finishing touch that would compliment the burlap trim on the jar base.
The next step was to fill up the jar. My small "Connect" church group had helped me with a project last year where we brainstormed words that defined love; this was the perfect use for my list of 100+ words! I printed the words out on a sheet of melon-colored cardstock; this was the bride's chosen color for their wedding. On the reverse side of the sheet, I printed a scrapbook page of simple small hearts. I then traced 2" hearts on top of the words, fitting in as many full expressions as I could on each fussy-cut heart shape. There were so many beautiful meanings offered by my friends, and how special that I was able to "re-gift" their gift to me!
 Then I cut out the hearts and folded them just a bit to add some dimension so that they didn't just lay flat inside the jar. I also used dark blue silk rose petals mixed in with the hearts to fill the jar, my son's chosen color for their wedding. You can see the wedding colors in my corsage in the image above at upper right.

Finally, I filled the jar with the hearts and rose petals. Then I added a special jar-lid top that has a place to add a light bulb; I used a low-light tapered bulb, so this is more of a night light or "mood" light. Lastly, I popped the shade on top  and it was all done!
I love the warmth that the yellow-hued light bulb gives the photos on the shade, it really adds a nice vintage touch. And I know the base is filled with lots of expressions of love, many of them derived from 1Corinthians 13:4-8, the "love scripture" of the Bible. My prayer is that my son and his wife will always hold these in their heart and keep sacred the covenant of marriage.

But - this little lamp would make a great gift for other occasions, too! You could make different shades representing Christmas (use vintage Christmas cards instead of photos!), Easter (fill the jar with jelly beans or colorful basket filler), favorite pet pics, summer vacation (maybe a beach trip and fill the jar with shells?) I'm sure you'll think of something!

Monday, January 1, 2018

Tiny hat

Happy New Year! It is freezing cold in NC today; I don't think the temp went above 30 degrees! It was a good day to stay inside and be creative. I decided to bring in the new year by making a new hat. This is maybe the cutest hat I have ever made, and definitely the smallest! So I'm calling it my Tiny Hat. It's also the quickest and easiest hat I've ever made, so I thought I would share directions as my New Year gift to you.

Here is what the finished hat looks like:
I snapped the picture outside in the freezing cold today, wishing it were spring! What I learned was, when tape gets cold, it no longer sticks. Zip. Nada. I tried using a tiny piece of double-stick tape to attach her hat to her hair, didn't work. I finally went inside and used a room temperature glue-dot to stick the hat to her head, no problem. But - once the tape got cold, and I tried to move the hat, that was the end of that. Here is another picture so you can see how tiny this hat really is:
As you can see, not much bigger than a penny! The actual finished size is 5/8" tall x 7/8" wide. Perfect for your teeny-tiny mice, birds, dolls, etc. Here's how I did it:
I started with a tiny wooden spool 1/2" wide x 5/8" tall. (I have these available for 25 cents if you can't find one.) I used a small piece of black Woolfelt to cover the spool. (I have this too.) The shape of the spool worked beautifully, just enough indention to look like a real top hat!
I traced a small circle onto the Woolfelt with tailor's chalk using the spool as a guide. I used a 7/8" button to trace the bottom hat brim onto the Woolfelt (I ended up using a button a bit larger than this pink one, 7/8" worked out better.) Then I measured the height of the spool, about 5/8", and used a rotary cutter and ruler to cut a strip of Woolfelt to go around the spool. I cut the strip so that it would be very snug rather than loose.

When I had everything cut out, I used a cotton swab and tacky glue to adhere the Woolfelt to the spool. I began by gluing the smaller circle to the top of the spool. Then I glued the strip around the middle of the spool. If you have cut the strip so that it's snug, the cut edges will virtually disappear once they're glued down. Last, I glued on the bottom brim. Let it dry, and it's done, how easy is that! You can also add a tiny ribbon around the bottom of the hat next to the brim if you'd like; a 1/8" wide ribbon seems to be a good size. I just think this is so adorable - and easy, my favorite kind of project! Happy New Year everybody, enjoy!


Monday, November 6, 2017

"Cracked Mud" Scarf class in Houston

We had an amazing felting class Wednesday at the show, the "cracked mud" scarf. I had seen this technique using wool on wool, but I put my spin on it and developed a technique that can be used on a silk chiffon scarf. The girls did an unbelievable job, each scarf was truly unique! I was so busy hopping around helping folks I didn't get many pictures, here are just  few of their beautiful work. They'll be even more glorious when they're actually dry!
 I love the touch of teal peeking up from the edges of this pretty purple scarf!
 Olive green on a royal purple silk chiffon base, just lovely!
 Teal and purple are always a winning combination, and the silk fibers set it off beautifully!
 Love these complimentary colors and asymmetric shapes!
Beautiful magentas and reds on a royal blue base, gorgeous!
 And this was their sample/inspiration piece for their scarf, I had so much fun making this piece!

Silk Scarf-dyeing class in Houston

Friday afternoon we had a silk scarf-dyeing class, everyone had a blast and made absolutely gorgeous scarves! Again, kudos to all my students who braved facing the downtown traffic of the Houston Astros' celebration parade after they won the World Series (go Astros, yay!) Downtown Houston was packed with over half a million fans, they even closed the schools for the day! But we were oblivious to all the chaos as we had a big scarf-dyeing party in the convention center. Here are a few of the beautiful works of art created by my students.


 The black dye is always a surprise as you can see in the above scarf, beautiful!


"Needle-felt a Masterpiece" class in Houston

My last class in Houston was Friday night, and truly, I was just impressed that the gals made it to class as crazy as downtown Houston was after the Houston Astros' celebratory parade that afternoon! One brave student had to park a half-mile from the convention center, yikes! But fiber fanatics are a determined bunch, and we had a wonderful class. The students each started with a silk crepe de chine sheet printed with a classical painting; they had their choice of Van Gogh's "Starry Night", or one of Monet's "Water Lilies" series. They got to choose from my assortment of wool fibers along with some silk, curly mohair, bamboo and Angelina fibers, and needle-felted to their heart's content. I also brought some hand-spuns and yarns for Van Gogh's trees in his piece, which worked beautifully. Here are some photos of some of the works in progress.


The last one was the piece I did as a sample for the class, this was such a fun and easy project! And it was very relaxing to sit and chat and needle-felt with other folks after a busy day.

Wednesday, September 6, 2017

Water Lilies

Next week is my fashion show at the PA National Quilt Extravaganza, and I can hardly wait! I love creating artsy clothing, and I am always inspired by the classics. A few years ago I had the privilege of seeing a phenomenal Monet exhibit with my daughter Maxi and her friends at the NC Museum of Art, and I was just blown away! The showing included a lot of his work, from the early years with sketches, to his later years when he painted his "Water Lilies" series with failing eyesight. One thing that really struck me was not only the talent of this man, but also the sheer size of his works. I never realized how huge some of these pieces were; it's hard to tell sometimes from a 2" picture in a textbook. I absolutely fell in love with his "Water Lilies" paintings, the soothing and refreshing colors, and impressionistic shapes, I'll never forget the beauty. And so of course I had to include a piece in my fashion show that was inspired by one of these paintings; fortunately, I have a couple of Monet's prints hanging on my wall, so I didn't have to look too far! Here is the piece that inspired my jacket:
Now it happened that I had snow-dyed a pretty celery green linen wrap skirt this past winter with some leftover blue dyes, and it had turned out really nice. I loved the finished colors and textures, but the style wasn't something I'd really wear much. However, as it was a long wrap-skirt, there was quite a bit of fabric to upcycle into something else! I browsed through my patterns and found a simple kimono-style jacket; when you're using fabric with lots of visual interest, you don't need a busy pattern style too. I laid it out and decided I had enough for the short version of the jacket, but not the lapels and cuffs. But- when I laid it next to some wool I'd marbled, the colors of the inks harmonized beautifully with the snow-dyed linen hues in blues. So, I spent an evening doing some marbling, I had just enough wool in a nice soft ivory flannel for the lapels and cuffs; here is what I did:
I used Ultramarine Blue and also a nice seafoam green and lime green, which I mixed.
I love this little area above, don't they look like little tropical fish? Angel fish or something. Anyway, this is the same technique of "Marbling on Wool" that I'll be teaching at the PA National Quilt Extravaganza next week, and also fom the article I wrote about in the June/July 2017 issue of Quilting Arts magazine.
After I marbled the wool and heat-set it, I cut everything out and started sewing. Everything worked pretty well, I had just enough fabric for the body of the jacket with very little left. There was a couple of nice squares left, and I decided to make a pocket out of one of them, as it was such a pretty area - too nice not to use.
And it's nice to have a pocket to throw your keys or lipstick in, right? Plus this piece just begged to be a pocket, I just had to hem it up again. (I had taken out the lower hem to give me an extra inch of fabric.) All in all, I was pretty pleased with how the jacket turned out; it will look great thrown over a pair of black pants and top for a dressy look, or equally good over a pair of jeans. Or even some cream linen pants. And it looks nice with the tote bag I created for the magazine, too.
Above is the simple yet functional pocket I added, such pretty textures!
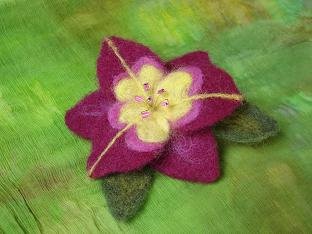
I also happened to have these accessories on hand that coordinated perfectly: a nuno-felted scarf (I'll be teaching that at SAFF this fall in Asheville), a funky wet-felted greenery cluster, and this flower that was a sample I'd made when developing my #209 "Wooly Flower Basket & Wall Hanging" pattern. The piece needed a little shot of pink to tie in with the original Monet work, and this simple flower filled the bill beautifully, here's the pattern I used:
I'm excited to see my models for the show! This loose-fitting jacket will look great on a variety of figures, and the scarf and pin can be worn either around the neck or we might do a head-wrap thing to enhance someones hair, we'll see! I'm looking forward to opportunities to help all my models have a positive, uplifting experience, and the audience too!